This feature allows you to limit how many pieces of a specific product (or category) each member can purchase.
It’s commonly used for member-only deals, exclusive drops, limited-edition items, or preventing bulk buying.
Watch the video to see how the member-only purchase limit works. Then follow the detailed guide below to set it up.
How to Set Item Purchase Limit (Step-by-Step Guide) #
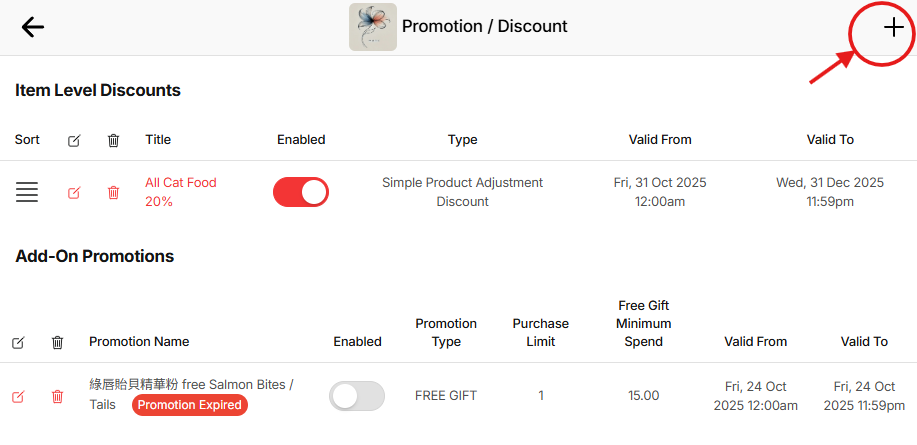
Go to your merchant dashboard and open “PROMOTION / DISCOUNT”. This is the main promotion dashboard. Here you can view, edit, activate, or deactivate any ongoing or past promotions. It helps you keep track of all promotion and discount campaigns in one place.
Click the “+” button in the top right corner to create a new promotion.
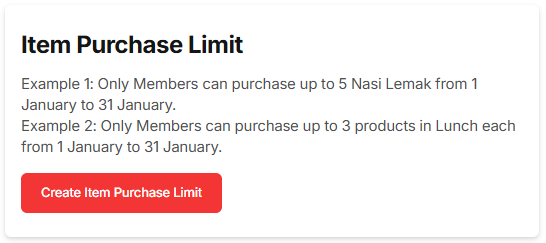
Select “Create Item Purchase Limit”. Each promotion type comes with a sample use case. This helps you choose the correct discount method based on your campaign objective—for example, this promotion type is designed specifically to control product purchase limits for members.
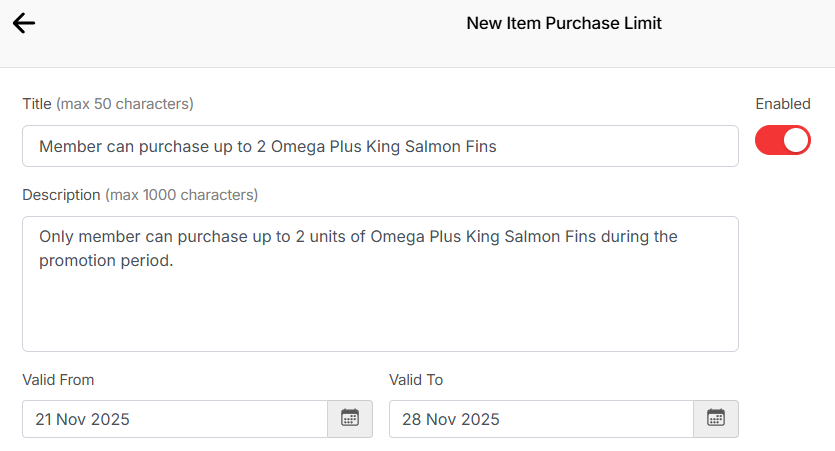
Enter the name of your promotion. This is for internal reference so you can identify this promotion later.
Add a description. (Optional) Include a short explanation to help customers understand what this member-only limit is about.
Set the promotion validity period. Choose the start and end date for this purchase limit.
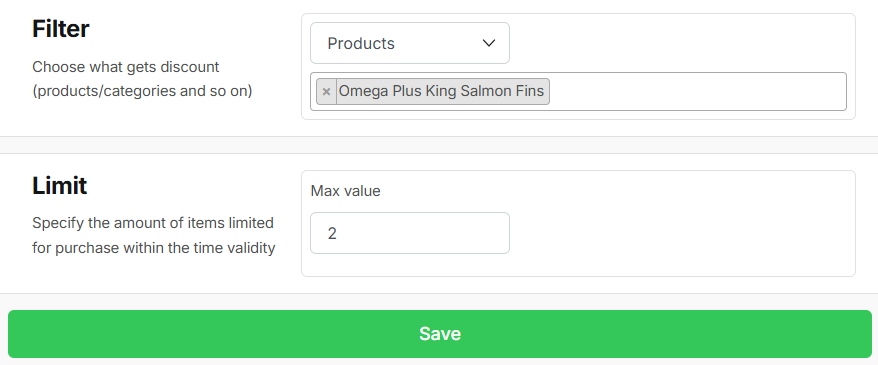
Select products or categories. You can apply the purchase limit to specific items or to an entire category.
Enter the “Max Value”. This is the maximum quantity each member is allowed to purchase.
Example: If you set “2”, each member can only buy 2 units.
Save the promotion. Once saved, the purchase limit will be applied automatically for all members during checkout.
Your member-only purchase limit is now active. Share this exclusive deal with your members to encourage loyal customers and prevent bulk purchases.