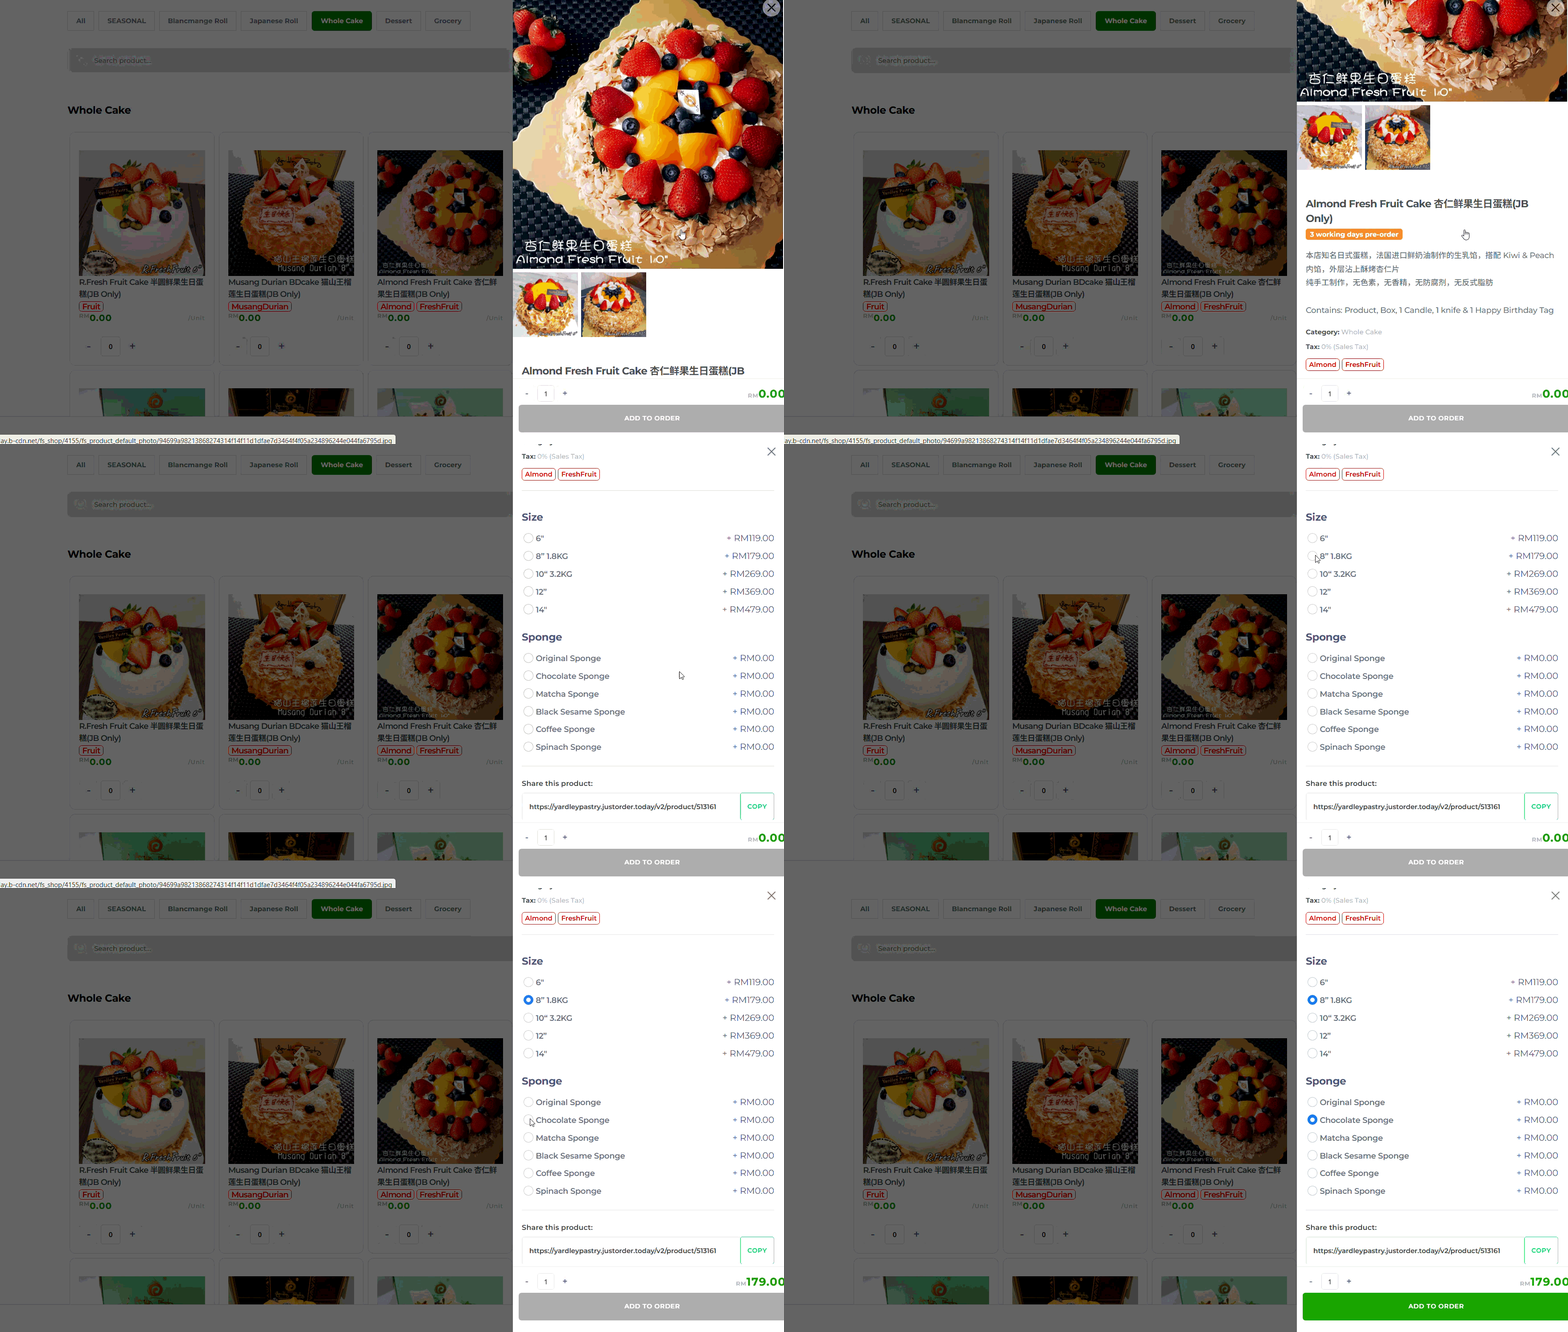
With JustOrder.Today, you can set up products that have different prices based on one variation (for example, size or flavour).
This means you can:
- Offer your customers multiple options for the same product (e.g. Small / Medium / Large, or Chocolate / Vanilla).
- Assign a different price to each option based on 1 variation. (eg. Small (RM80) / Medium (RM100) / Large (RM120))
- Allow customers to easily place orders for the variation that suits them.
- If you require different price based on multiple variation, you need to add-on JustOrder.Today Multiple Variation”
👉 Follow this step-by-step guide to learn how to create a product single option with size or flavour variations in JustOrder.Today.
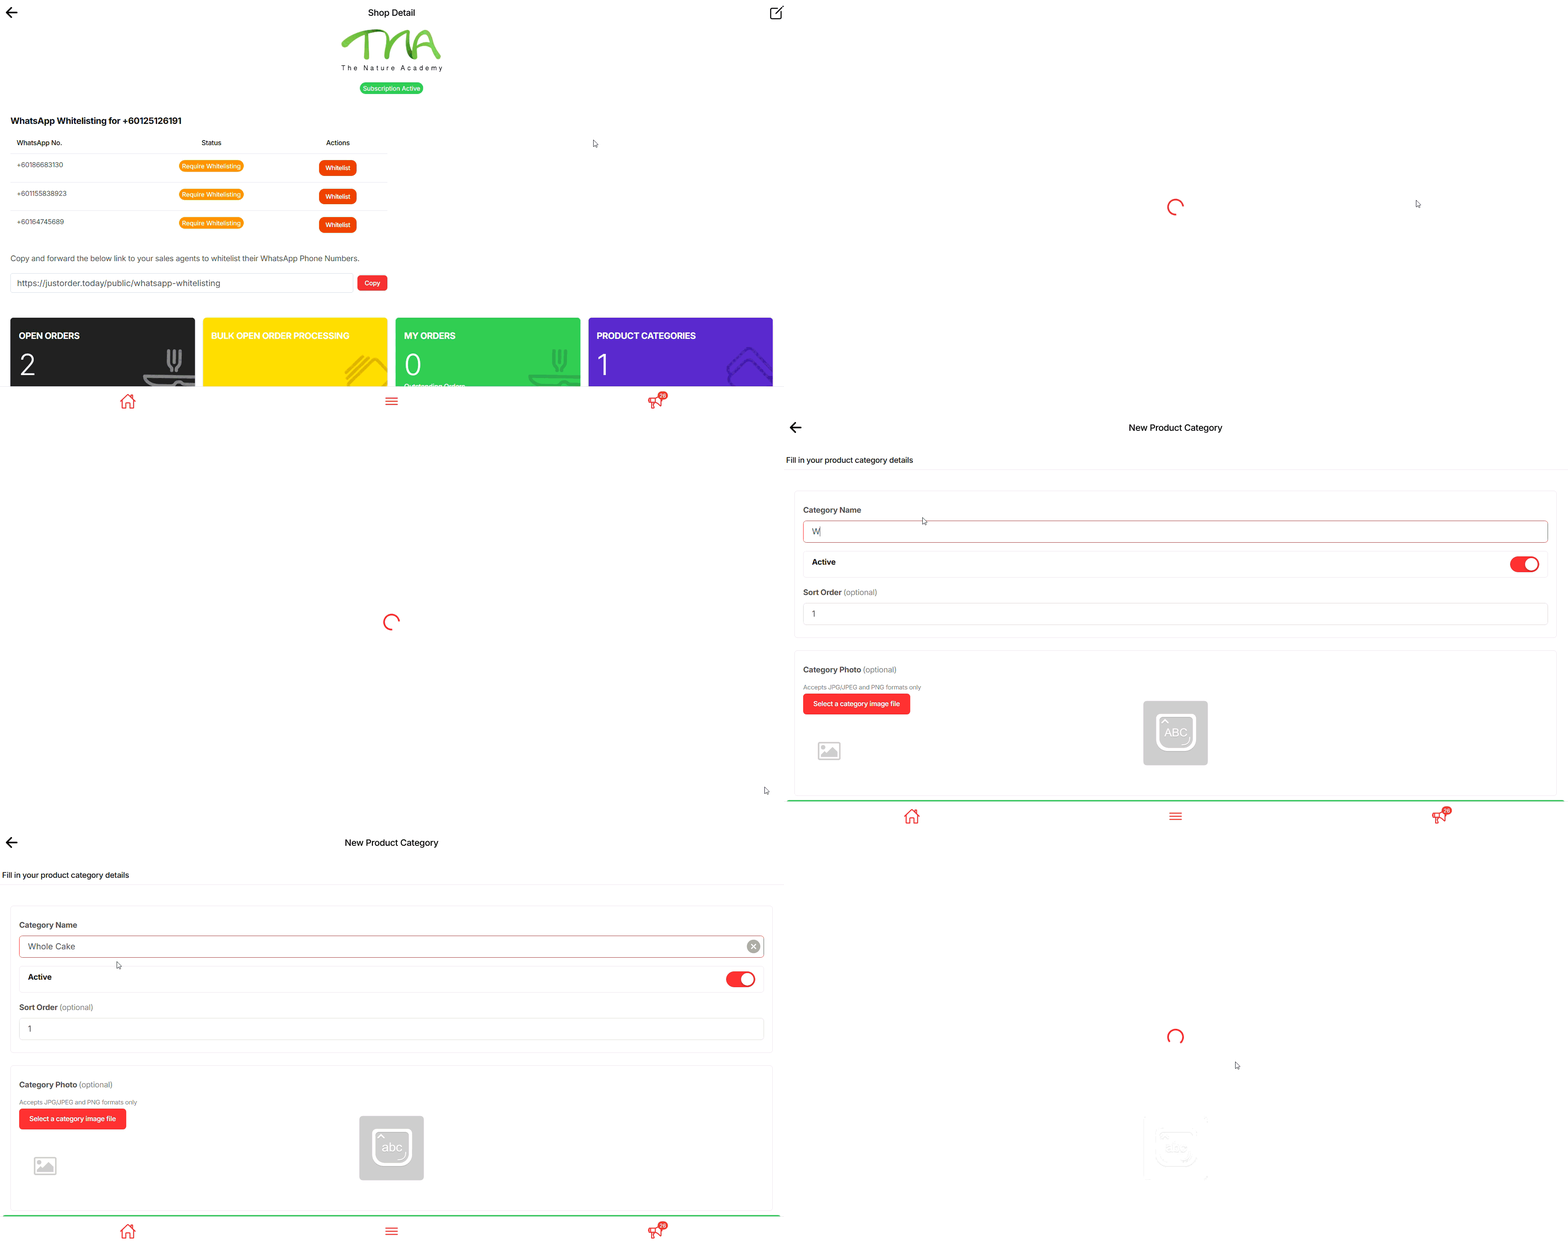
Before You Start: Create a Product Category #
Before adding a new product, make sure you have created at least one Product Category.
This ensures your products are organized and easier for customers to browse.
- From your Shop Dashboard, go to Product Categories.
- Add a new category that matches your product type (e.g., Cakes, Beverages, Accessories).
- Once done, you can proceed to create your product and assign it to the correct category.
💡 Tip: Categories help customers quickly find what they’re looking for and keep your shop tidy.
Step 1: Add a New Product
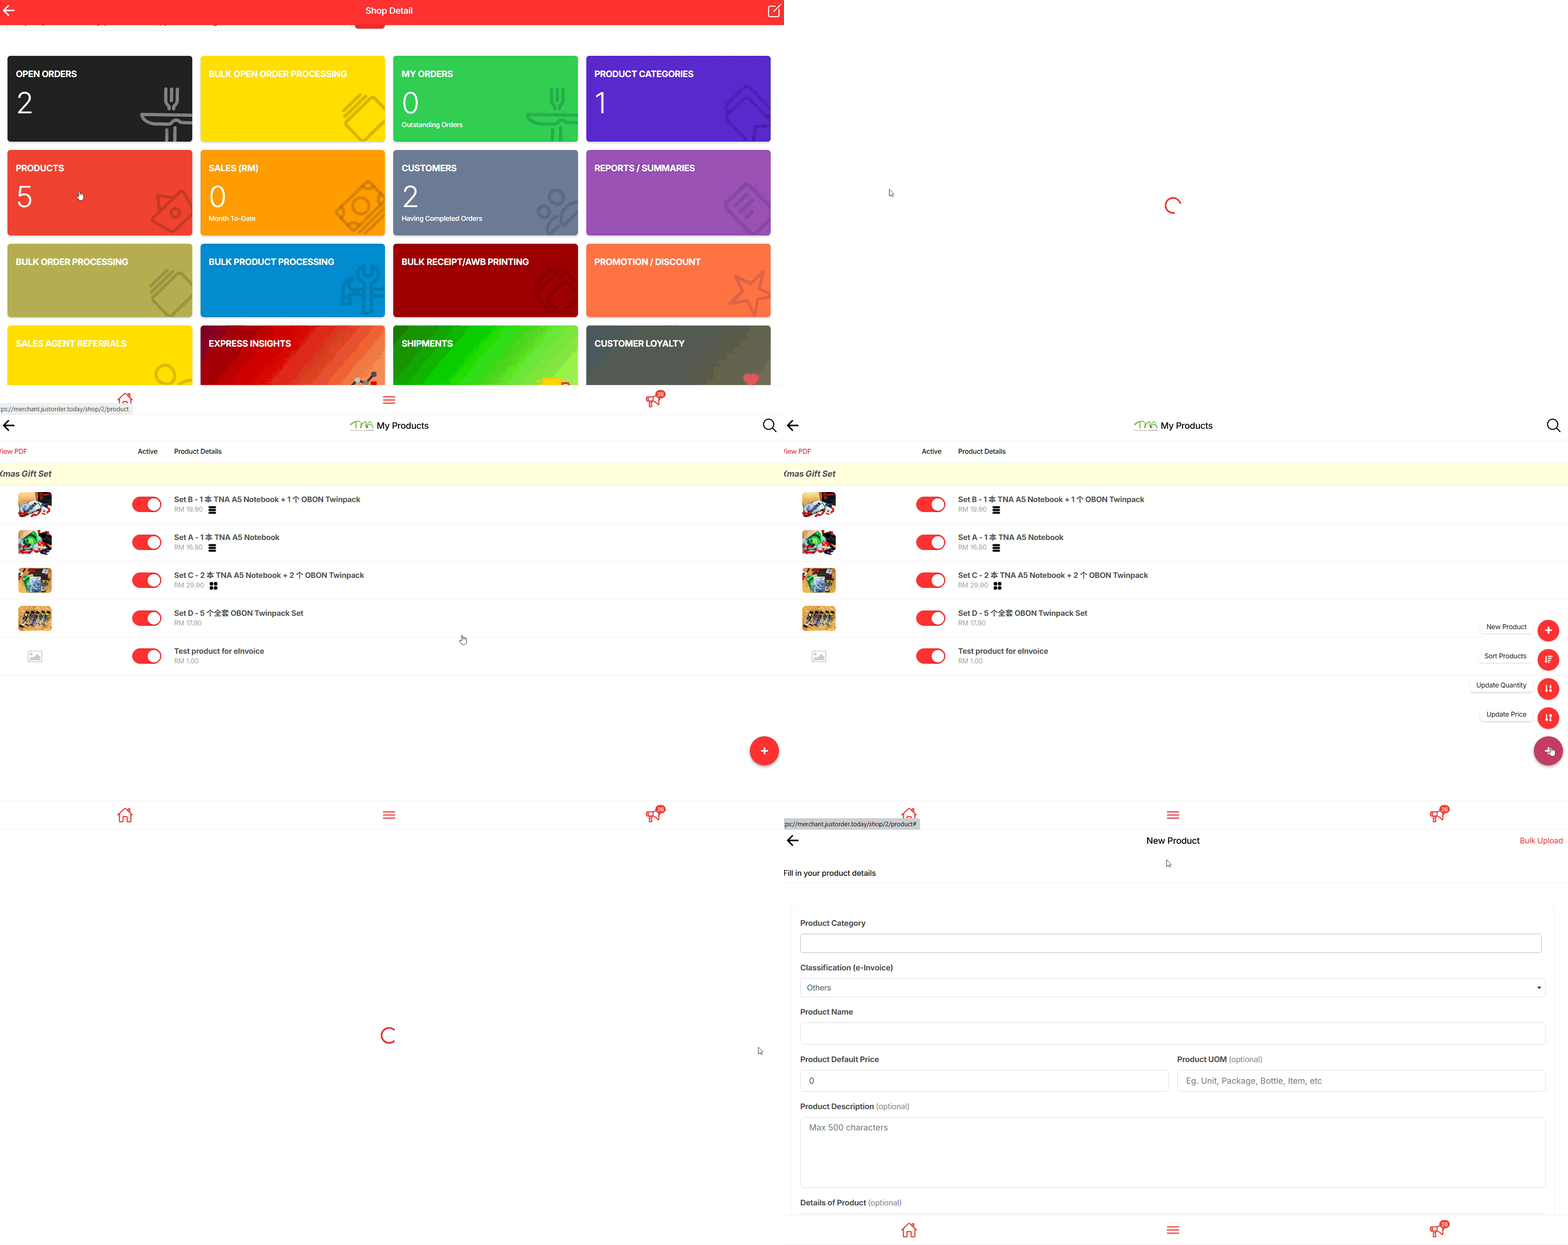
- From your Shop Dashboard, click on Products.
- Select Add New Product to start creating a new item.
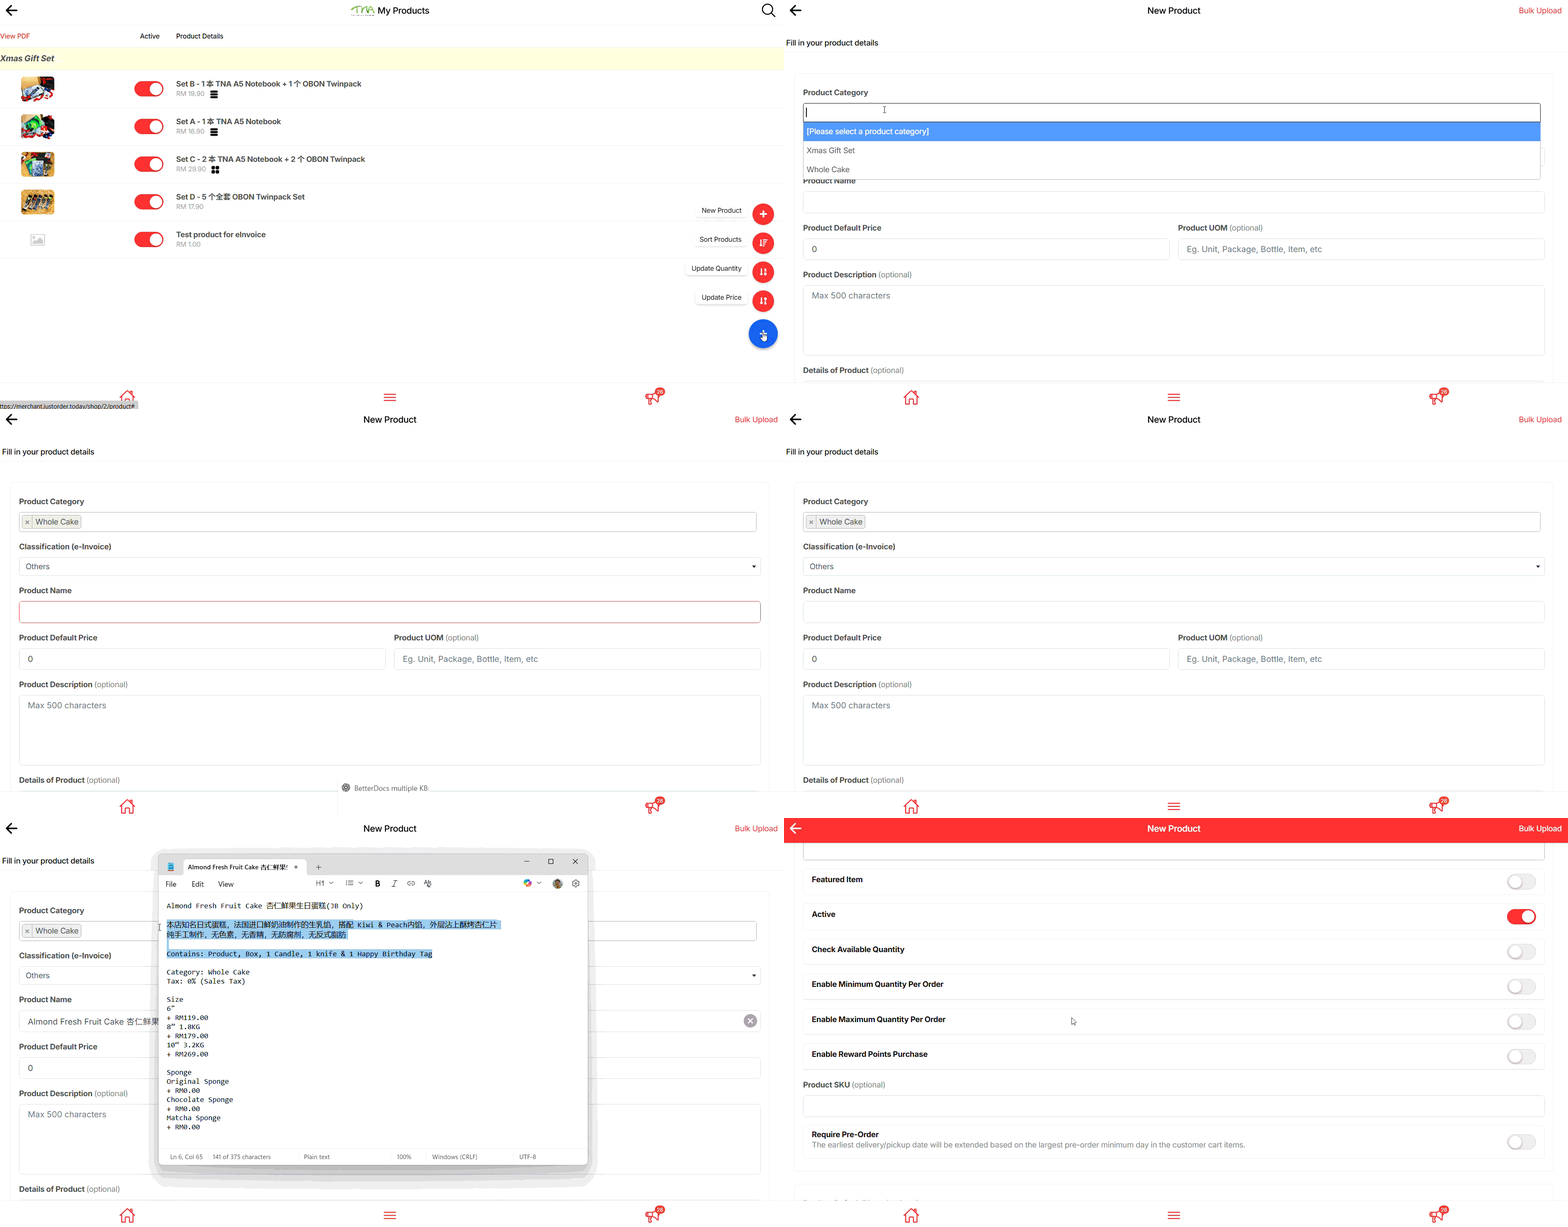
Step 2: Insert Product Name and Description (Leave Default Pricing to “Zero”)
- Enter a Product Name that clearly describes what you’re selling (e.g., Chocolate Cake – 1kg).
- Add a Product Description with details your customers need to know — such as flavour, size, ingredients, or any special notes.
- Remain Product Default Pricing as “0”, product price will define by single option setup later.
💡 Tip: Keep your description simple but informative so customers can quickly understand what they’re ordering.
Step 3: Upload Product Default Photo #
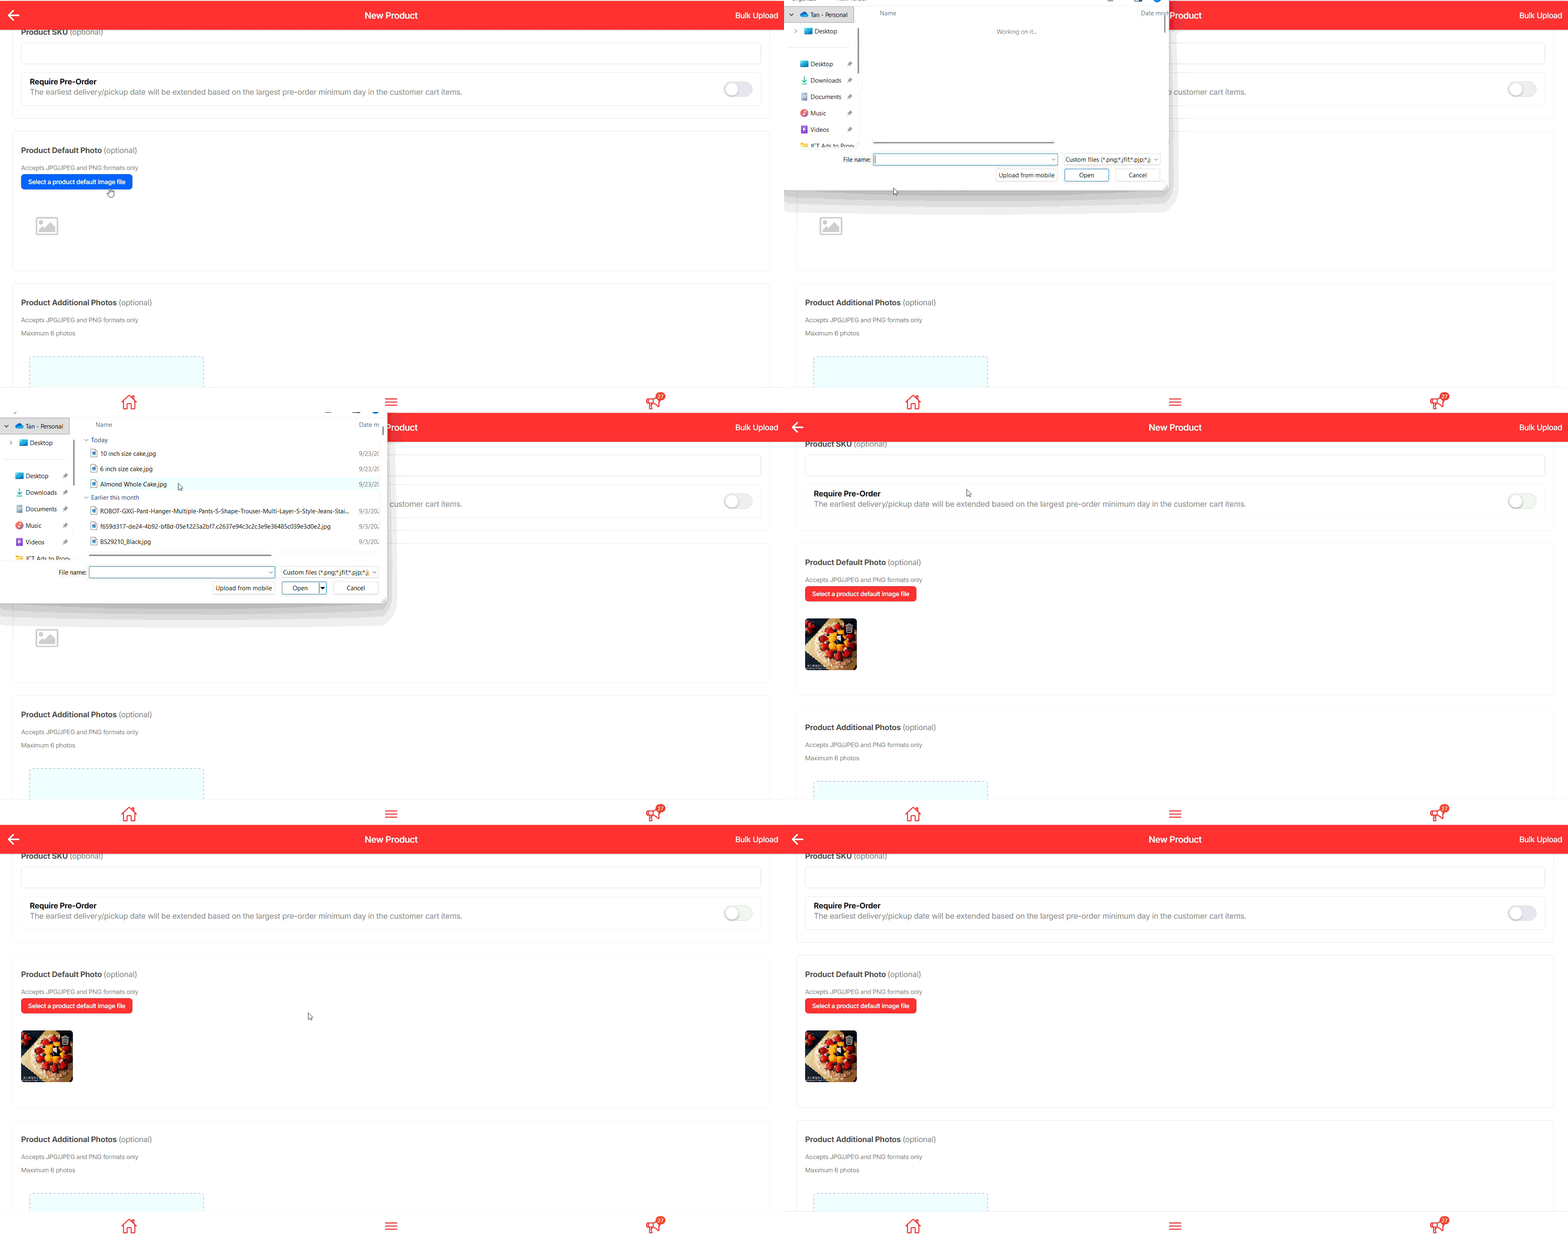
- Click Select a product default image file.
- Choose your main product photo (JPG or PNG format).
- This image will be shown as the primary product photo in your shop.
💡 Tip: Use a clear, high-quality photo with good lighting — it helps customers trust your product and improves sales.
Step 4: Add Product Additional Photos (Optional) #
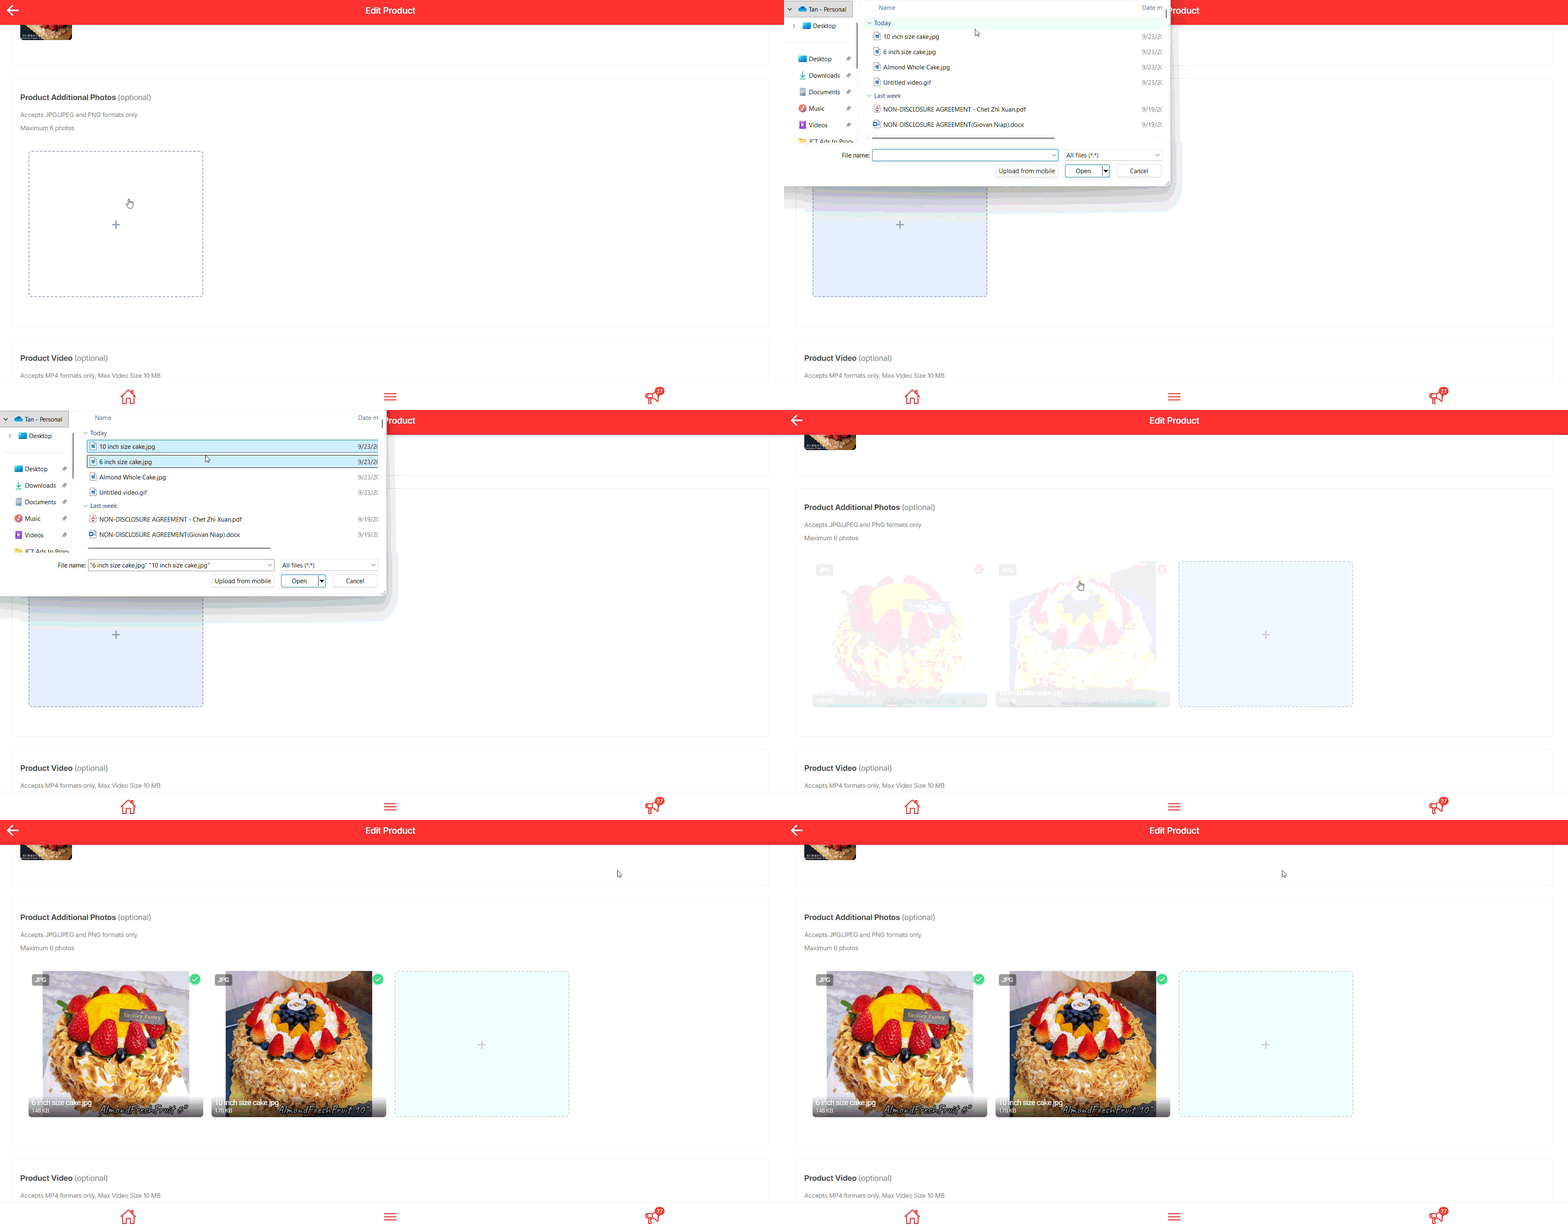
- Click the “+” icon under Product Additional Photos.
- Upload extra product images (JPG or PNG format).
- You can upload up to 6 photos.
💡 Tip: Use additional photos to show different angles, packaging, or close-up details. The more visual clarity you give, the more confident customers feel when buying.
Step 5: Add Single Option and Upload Product-Specific Photos #
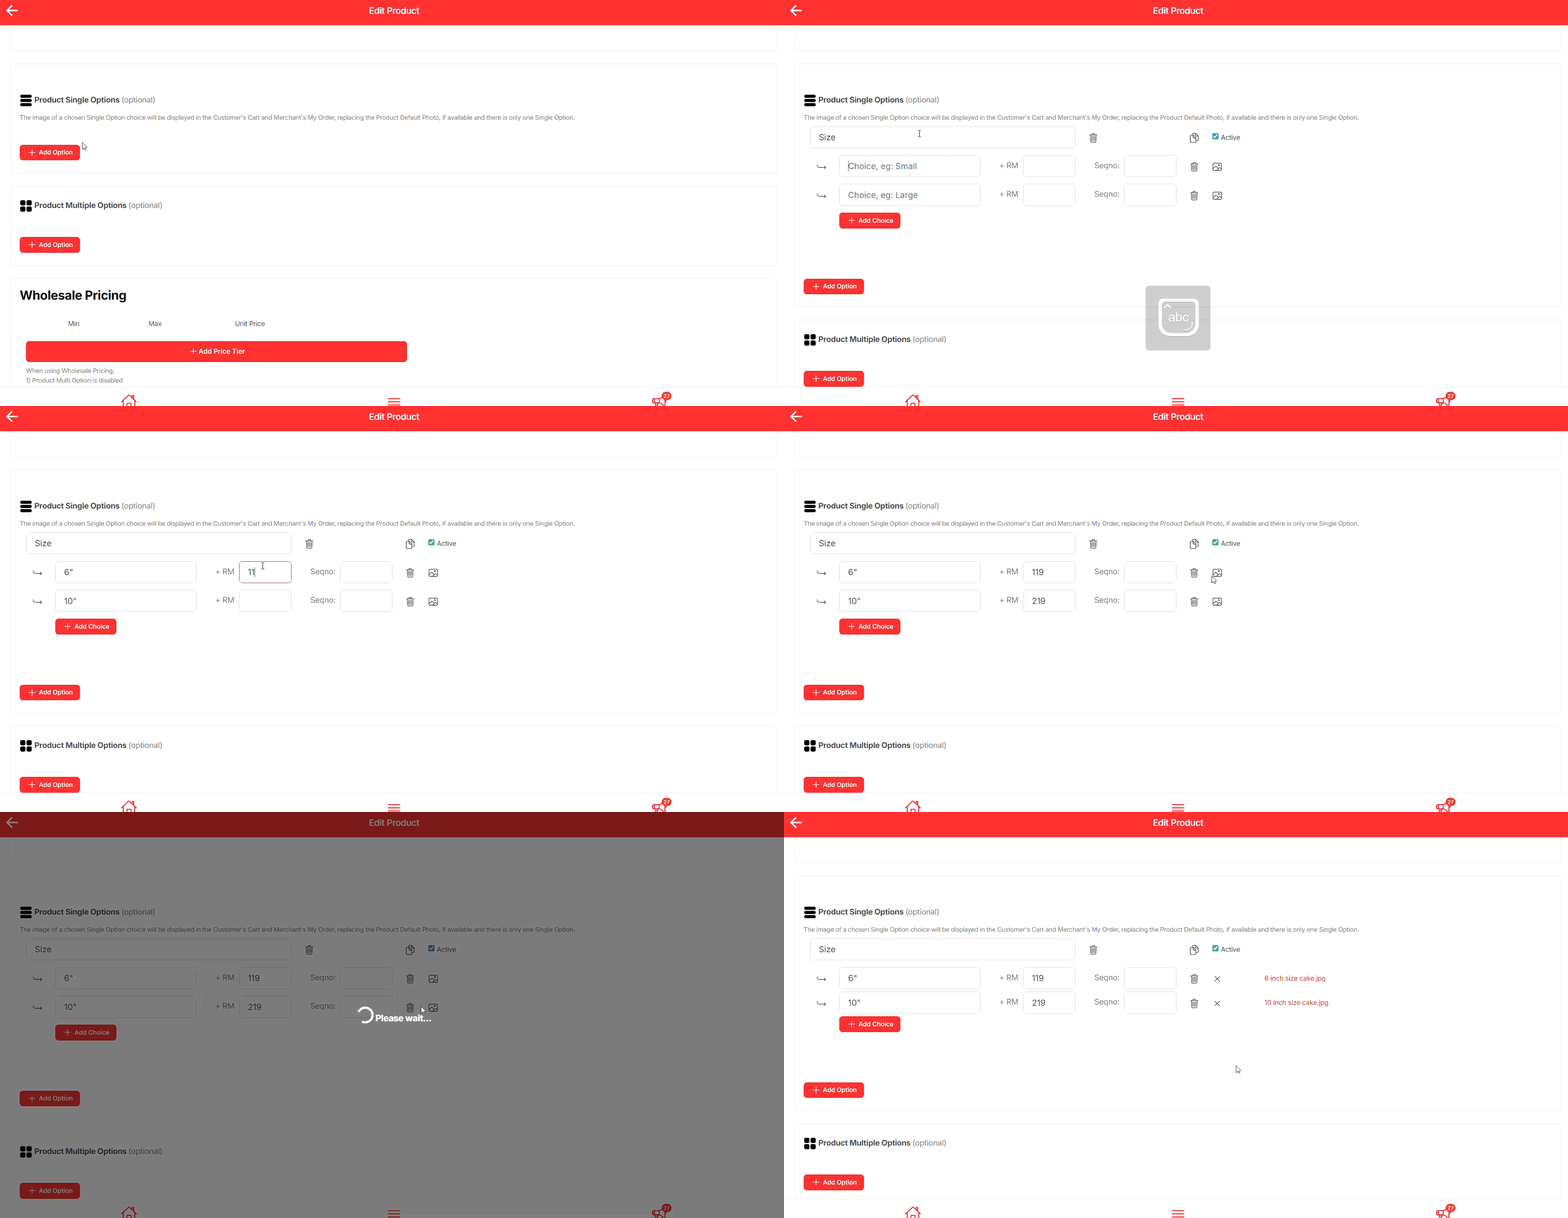
- Scroll down to Product Single Options.
- Click + Add Option.
- Enter the Option Name (e.g., Small, Chocolate, 1kg).
- Upload a specific photo for this option.
- This image will appear when customers select that option.
- It replaces the default photo in the cart and order summary.
💡 Tip: Single options are best for products with one type of variation — like different sizes or flavours.
Step 6: Insert SEO Details and Save Product #
- Scroll down to the SEO section.
- Fill in:
- Title – use the product name (clear and keyword-friendly).
- Description – a short summary for search engines (include key product details like flavour, size, or category).
- URL Slug – customize if needed (e.g.,
/almond-fresh-fruit-cake).
- Review your Product Tax settings (optional).
- Once everything looks good, click Create Product to save.
💡 Tip: SEO details help your product appear in Google search results and make it easier for new customers to discover your shop.
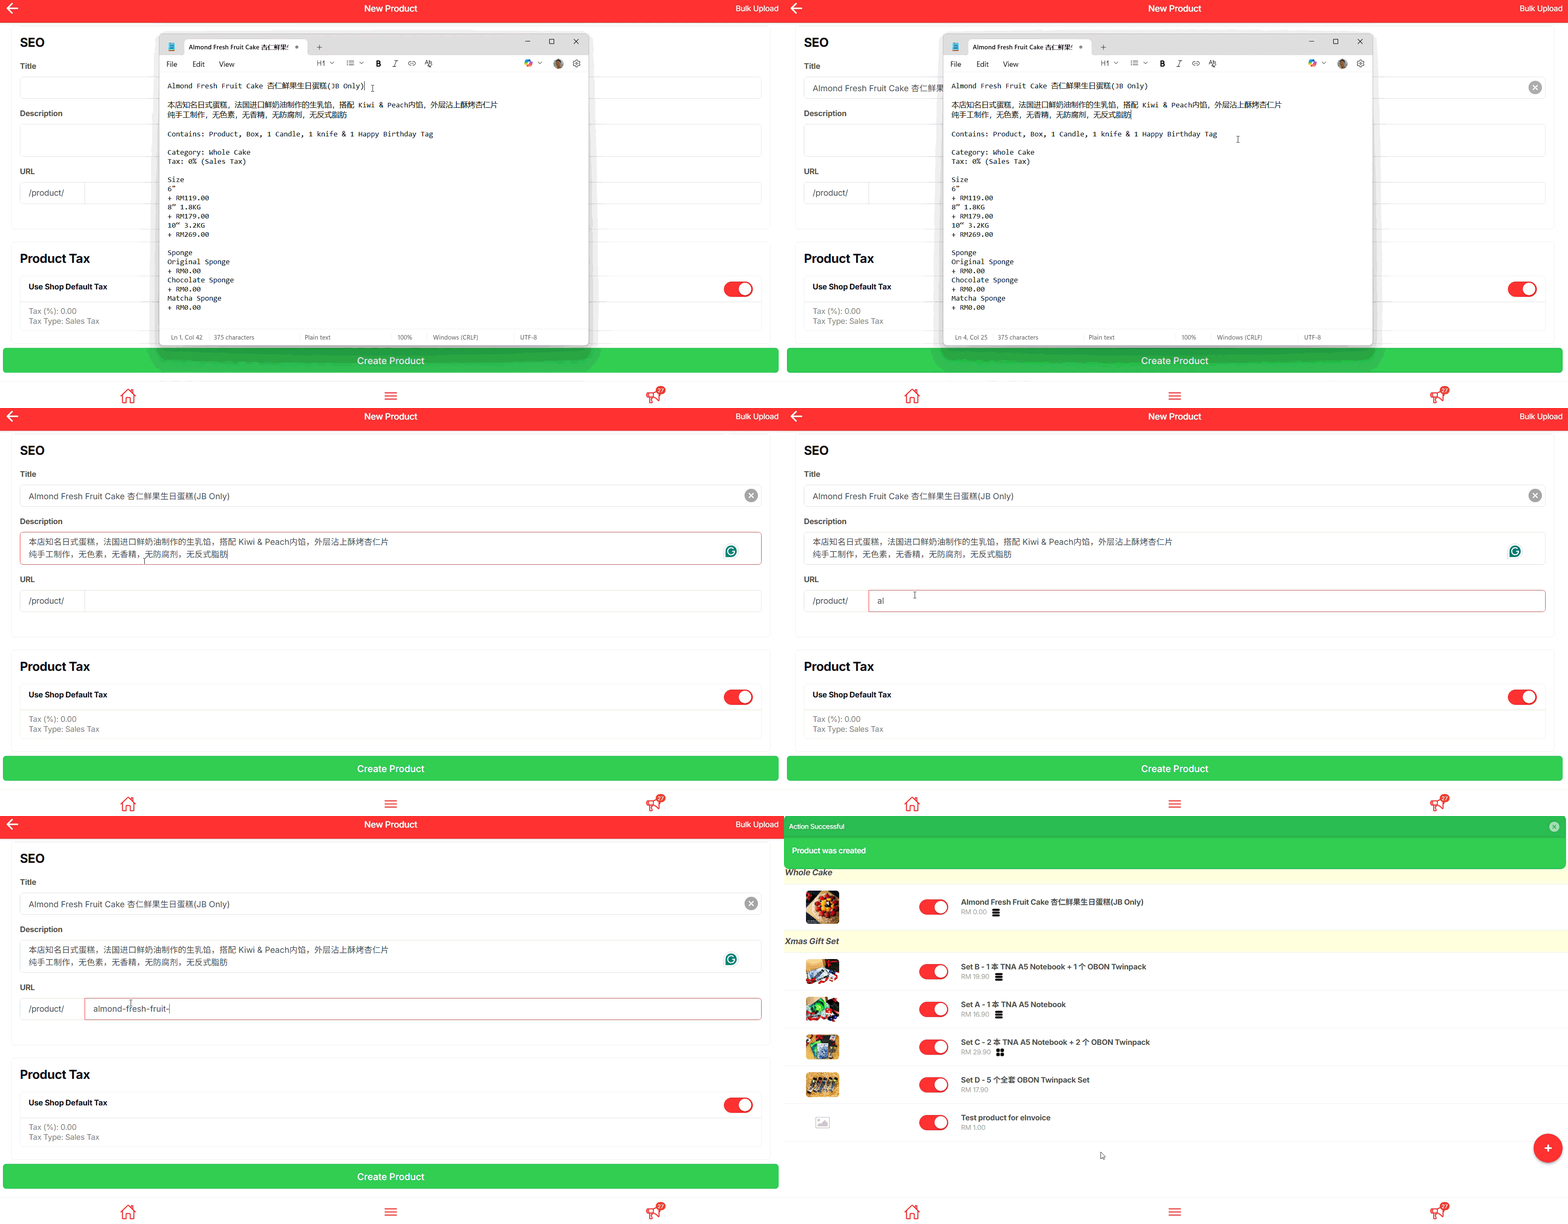
Final Outcome #
By simply following all the above steps, you will be able to create product with different price based on single variation (e.g. sizes, flavours)
